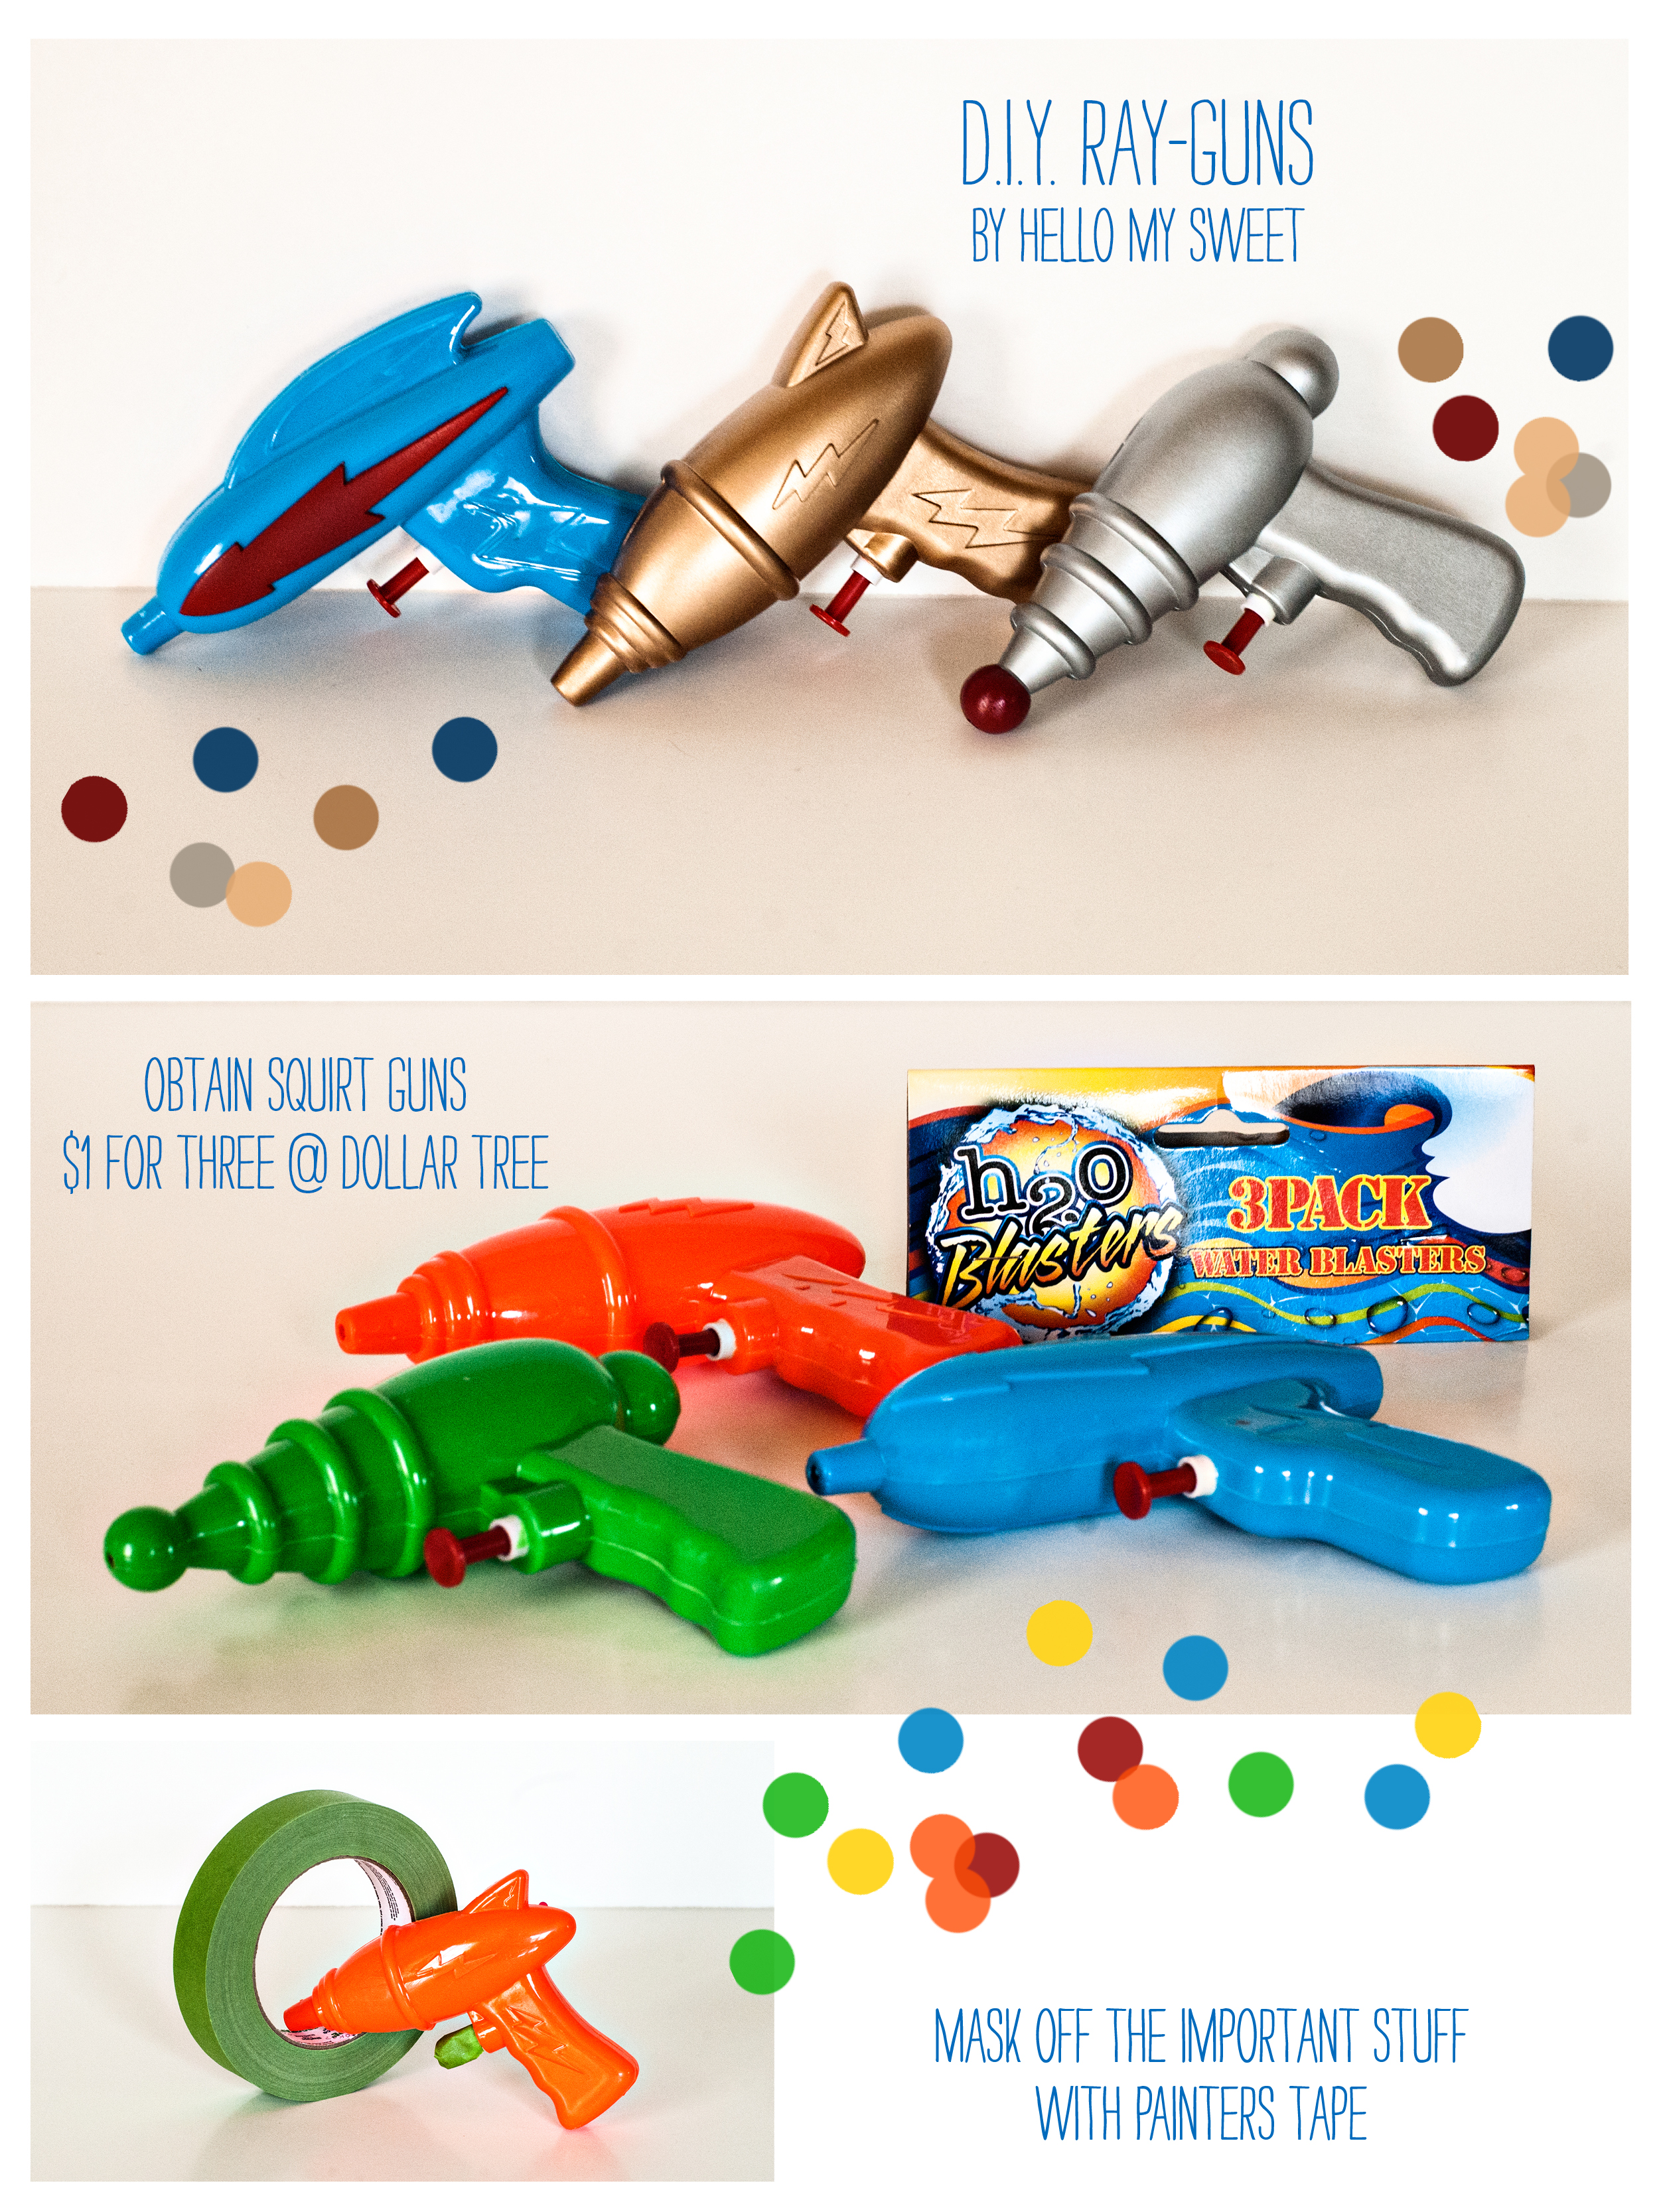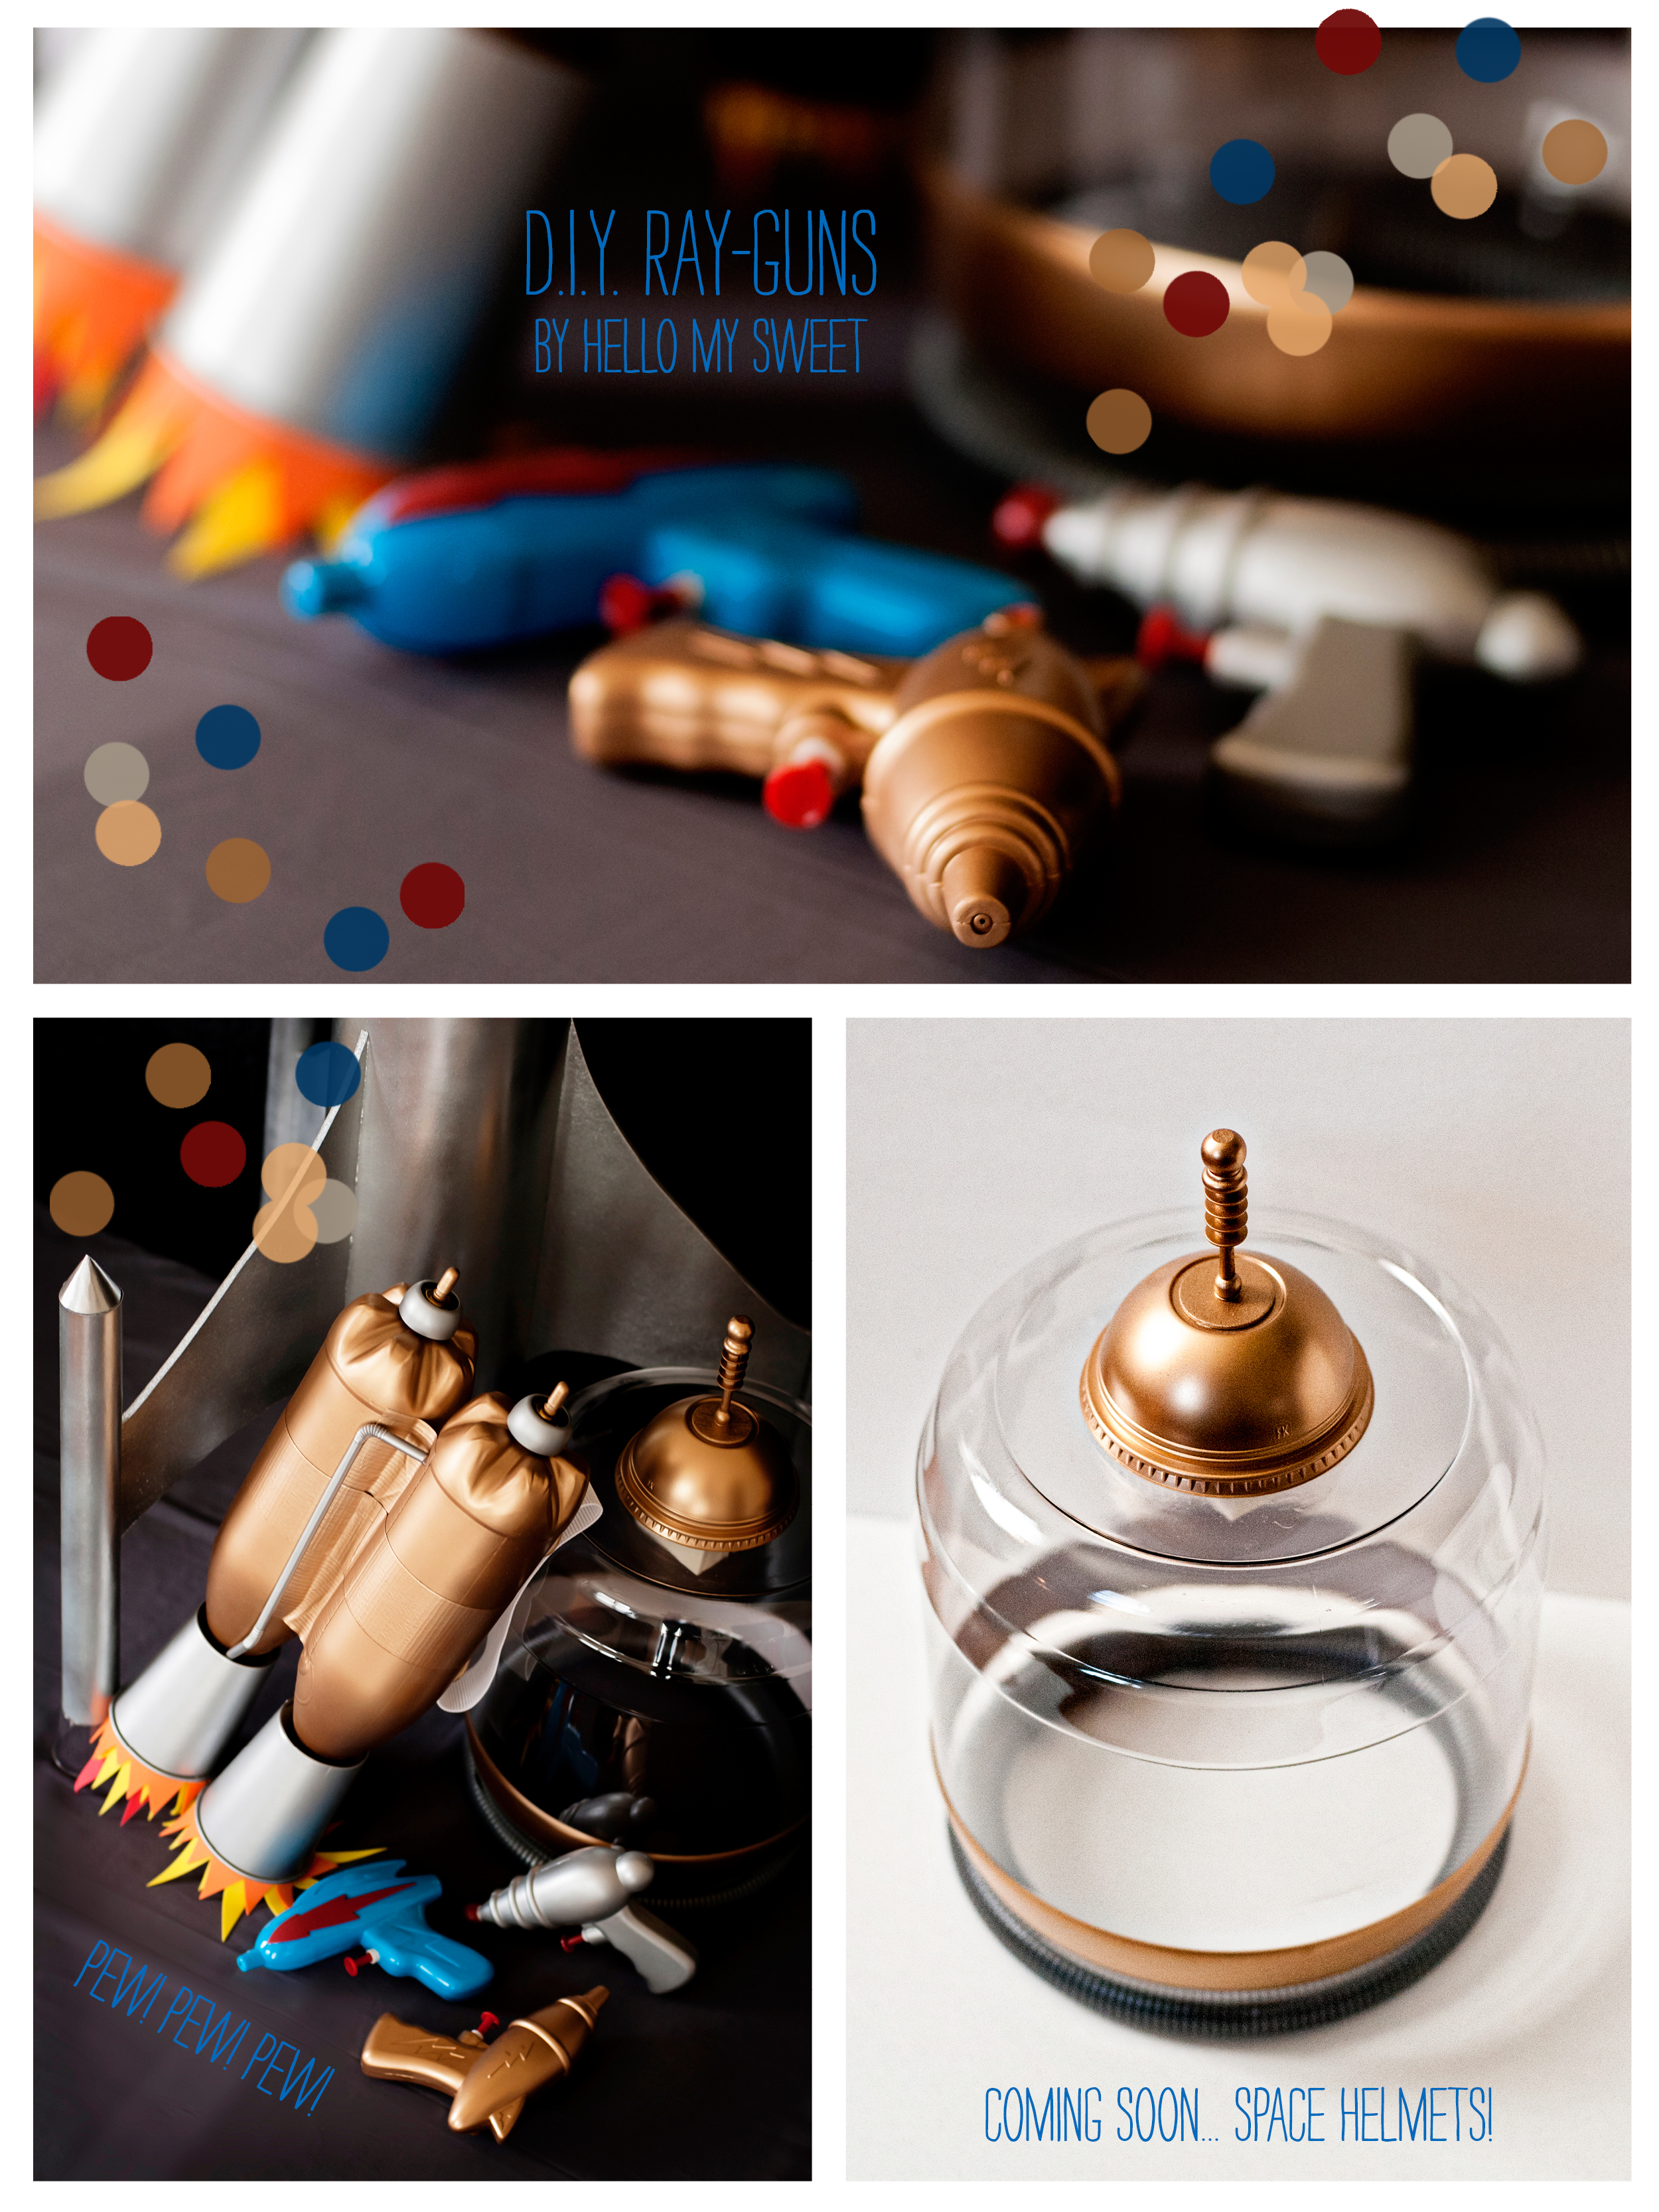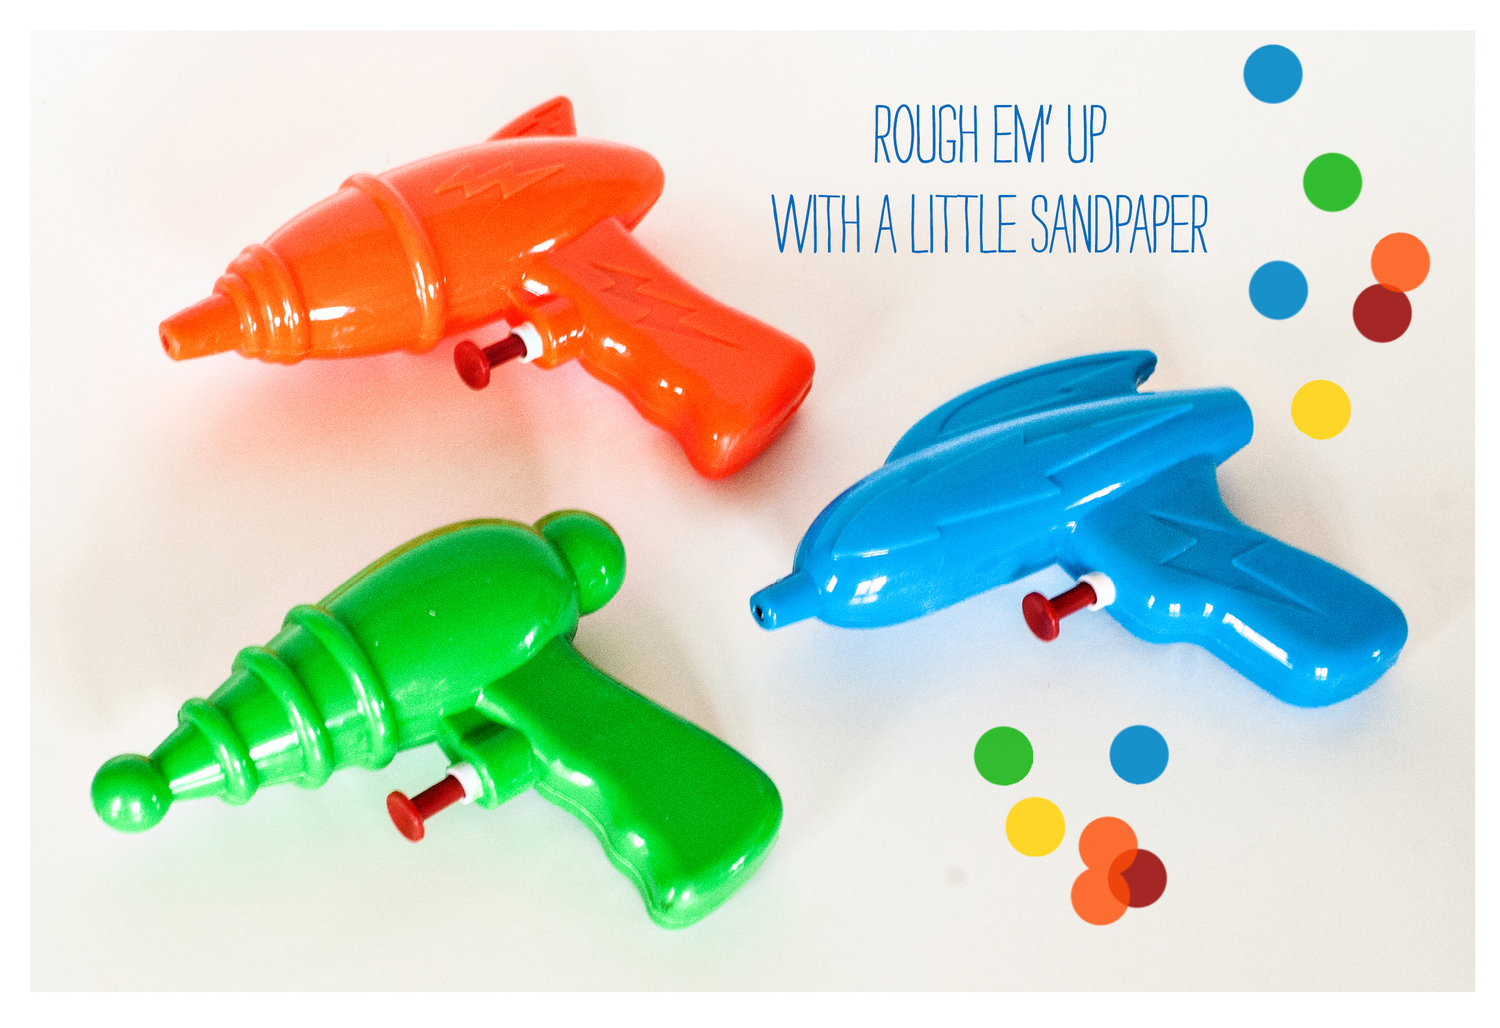


We have another simple, and affordable DIY tutorial up our sleeves to show you today. This go round we are going to make some Dollar Tree squirt guns magically transform into Retro Ray-guns. This project is all about the vision to see what an objects potential is. Jason is really skilled at this. He can see something in the store as a completely different object down the road. All we required were a few crafting materials we already had at home, and a package of squirt guns, which cost $1 per three pack.
For this project you will need:
Spray Paint (or Craft Paint & Applicator)
Sandpaper
Plastic Squirt Guns
Painters Tape
Newspaper
Spray Polyurethane
Step One: Decide what area of your ray-guns you want to paint. We chose to completely cover two of ours, and leave one blue and just paint the bolt on the side of it. You will want to mask off the trigger area just to make sure it doesn’t get stuck in place with paint. Use your painters tape and newspaper to mask.
Step Two: Rough up your painting area with a fine grit sandpaper. This will help ensure your paint adheres well to the plastic. The shiner and smoother the plastic, the more difficult the bond can be. Once you are done sanding, be sure to wipe the ray-guns down to remove any loose debris that would prevent the paint from sticking as well.
Step Three: Unleash your inner paint artist and go town on those ray-guns! We tried to achieve a nice retro feel by using some matte metallic spray paint and an accent of dark red here and there to match the overall color palette of our Retro Space Dessert Table. Allow your paint to dry thoroughly and then apply a polyurethane spray coat as well to keep the paint from scratching of and protect little hands too!
We used our Ray-guns as decoration, but you could easily hand them out to your guests to have a super fun squirt gun fight, or even as a party favor or gift!